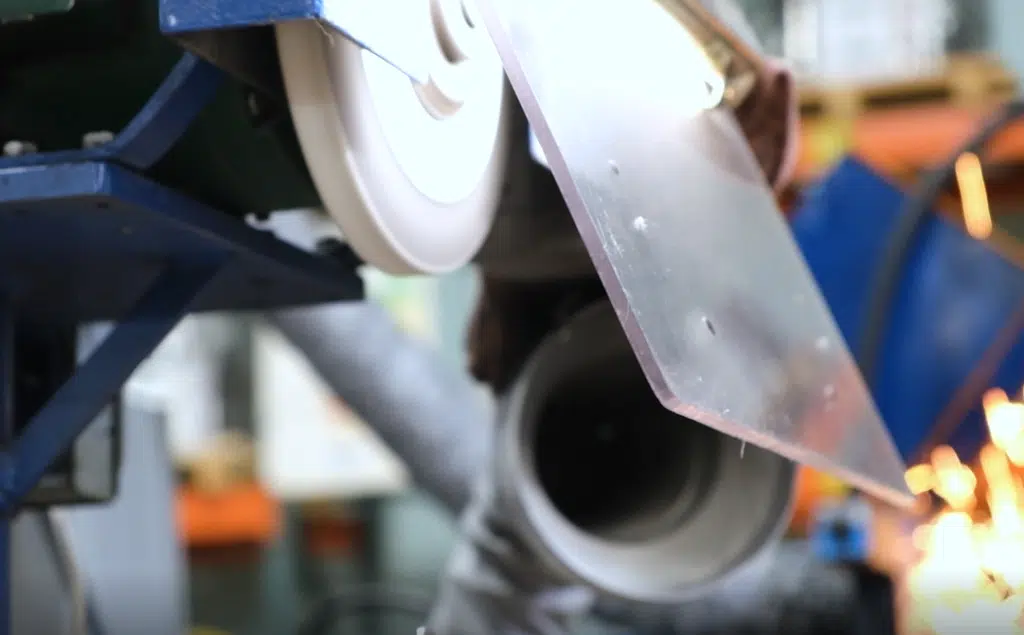
If you’re working with bandknife or bandsaw blades, chances are you’ll eventually need to use a grinding wheel. However, before you mount a new grinding wheel, you should always perform a ring test to make sure it is in fully intact.
We know you probably wish you could just start grinding away but performing a ring test is easy. In fact, it’s so easy that we’re going to show you how to do it in less than two minutes. Let’s get into it.
What You’ll Need
To start, you’ll need to find a quiet room, preferably away from loud machinery or other personnel. Something like a conference room, training room, or even a quiet supply closet will work just fine.
Next, you’ll need your grinding wheel – whether that’s a traditional, ceramic, or cupped grinding wheel – and something sturdy to tap it with. In the video above, we used a piece of tool steel, but the plastic handle of a screwdriver or the wooden handle of a hammer would also do.
Performing the Ring Test
Once you’ve grabbed your grinding wheel, let the inside diameter of the wheel rest on your index finger like so. Then, take your sturdy tool and gently tap the outside of the wheel.
If the ring you hear from tapping the wheel is somewhat dull and muffled, then there’s most likely a crack in the wheel and you should refrain from using it. However, if the wheel is in good shape, then you should hear a clear, metallic ring. This applies to ceramic and cupped grinding wheels as well.
Once you hear that clear, metallic ring, that means the grinding wheel has passed the test and you’re free to mount it.
To learn more about grinding wheel best practices, click here. Or, you can contact us today using the button below.


